
How to keep user secrets in ASP.NET Core WebApi?
I usually ask myself some questions to answer before diving into each topic.
My questions are:
- What is it?
- Why should i use it?
- How to use it?
In this story , i’ll try to answer those questions. so here we go…
What is it?
Configuration files play a crucial role in our daily development routine. These configuration files often contain sensitive data, such as connection strings, external service tokens, or other critical information related to your API. User secrets allow us to securely store settings exclusively on our development machines, ensuring their privacy.
Why should i use it?
In the case of keeping your source code in a public repository, there is a risk of accidentally pushing this sensitive information to the repository. Alternatively, you can use another settings file in your project and add a new line to your .gitignore file (or any other source control you have) to ignore that file.
Based on my experiences, I have observed instances where negligent colleagues forget to follow this practice and end up directly pushing sensitive data to the repository, potentially leading to unauthorized access.
To mitigate this potential threat, Microsoft provides a solution: user secrets.
How to use it?
Let’s explore two approaches for initializing user secrets.
You can right click on your project and select “Manage User Secrets”.
This process generates a unique GUID and automatically adds it to your .cproj file. (check UserSecretsId below)
<Project Sdk="Microsoft.NET.Sdk.Web">

  <PropertyGroup>
    <TargetFramework>net7.0</TargetFramework>
    <Nullable>enable</Nullable>
    <ImplicitUsings>enable</ImplicitUsings>
    <UserSecretsId>52e662c7-43b7-486f-b968-6706c3cb9c1a</UserSecretsId>
  </PropertyGroup>

  <ItemGroup>
    <PackageReference Include="Microsoft.AspNetCore.OpenApi" Version="7.0.7" />
    <PackageReference Include="Swashbuckle.AspNetCore" Version="6.5.0" />
  </ItemGroup>

</Project>
It also automatically creates folder with that guid as a name and secrets.json file in “%AppData%\Microsoft\UserSecrets\”
Another way to initialize secrets is through dotnet CLI.
dotnet user-secrets initso , we initialized our secrets we know how it works. Let’s see it in action. For demonstration purposes, let’s create a setting called “TopSecretPassword” within the appsettings.json file.
{
  "Logging": {
    "LogLevel": {
      "Default": "Information",
      "Microsoft.AspNetCore": "Warning"
    }
  },
  "AllowedHosts": "*",

  "TopSecretPassword": "123456"
}
In program.cs we can access it using code below;
var topSecretPassword = builder.Configuration.GetValue<string>("TopSecretPassword");and debug it.
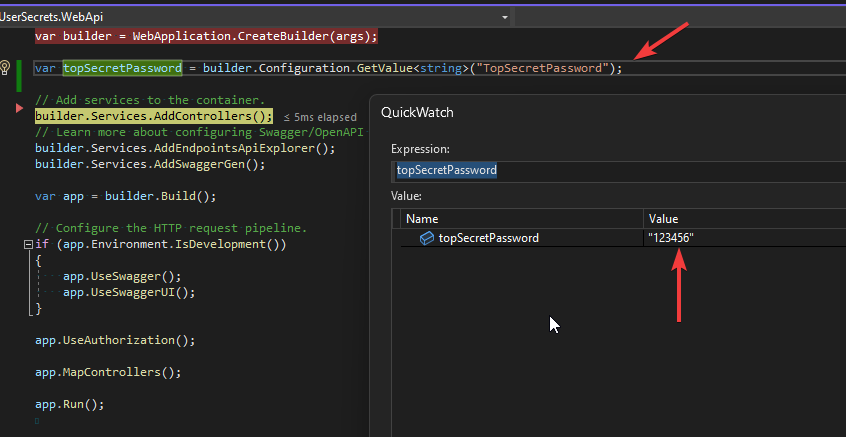
Upon retrieval, we observe that our topSecretPassword value is “123456”. Next, we’ll proceed to add it to the secrets.json file.
{
  "TopSecretPassword": "654321"
}
Debug to validate the “TopSecretPassword” setting.
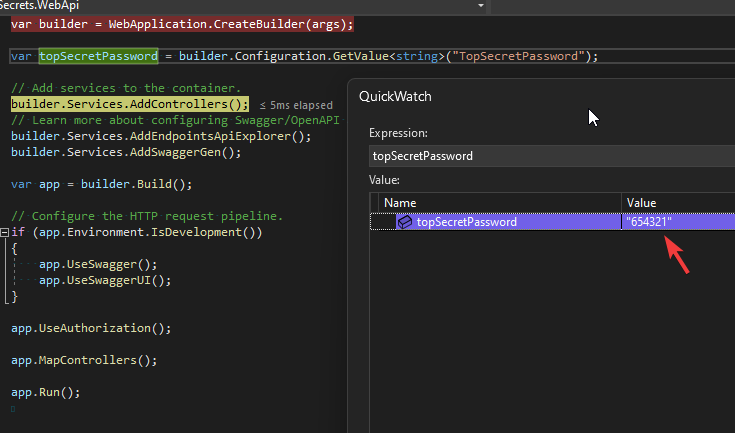
Voila! Mission accomplished.
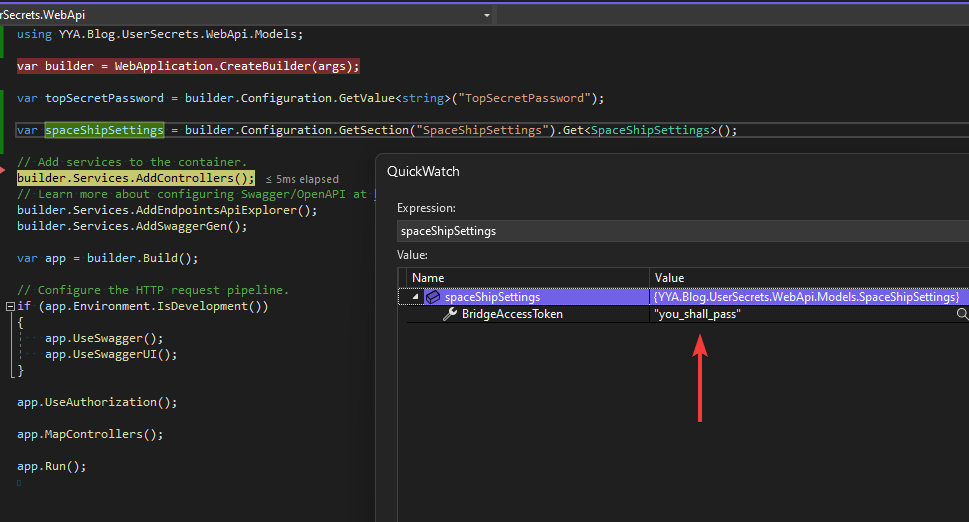
When dealing with nested settings, employ the ”:” separator within the secrets.json file.
Here is an example. appsettings.json;
  "SpaceShipSettings": {
    "BridgeAccessToken": "you_shall_not_pass"
  }
in secrets.json;
{
  "TopSecretPassword": "654321",
  "SpaceShipSettings:BridgeAccessToken": "you_shall_pass"
}
The result is.
 Happy coding :)
You can access the source code for this tutorial by clicking below.
Happy coding :)
You can access the source code for this tutorial by clicking below.
https://github.com/yyavci/YYA.Blog.UserSecrets